How to Get Reliable Internet in an RV
Your internet setup should follow your work requirements, not the other way around. Before buying a hotspot, a signal booster, or Starlink, answer a few questions about your tasks, data use, and travel patterns.
Start with the tasks that cannot tolerate interruption: video calls need a steady connection with minimal delay, so a drop of a few seconds will disrupt a meeting. Email, messaging, and web browsing tolerate brief interruptions. If you upload large files for work, you need a connection that sustains uploads, which is where cellular and Starlink differ most.
Then check your data consumption. Your phone’s data usage screen or your current plan’s history shows your monthly total. A day of video calls consumes far more data than a week of email and browsing. Streaming video in the evening adds to the total quickly. If your work involves large file transfers, those spikes matter more than your average usage.
Your travel pattern decides which technology fits. If you stay in campgrounds, towns, and highway corridors, a 5G cellular hotspot is often enough because those places have cell towers nearby. If you spend time on remote public land with open sky and no usable cell signal, Starlink is the better fit. Frequent travel across varied terrain means you will hit both good coverage and dead zones, so plan for a backup rather than assuming one connection covers everything.
Budget shapes the decision too. A phone hotspot requires a phone and a monthly plan with hotspot data, which costs less per month. Starlink requires an upfront kit purchase and a higher monthly fee, with Roam 100GB at $55 per month and Roam Unlimited at $175 per month as of September 2026. If you need dependable internet for work or uploads, Starlink’s higher price can be worth it. If you only need casual browsing or streaming near populated areas, a hotspot might be all you need.
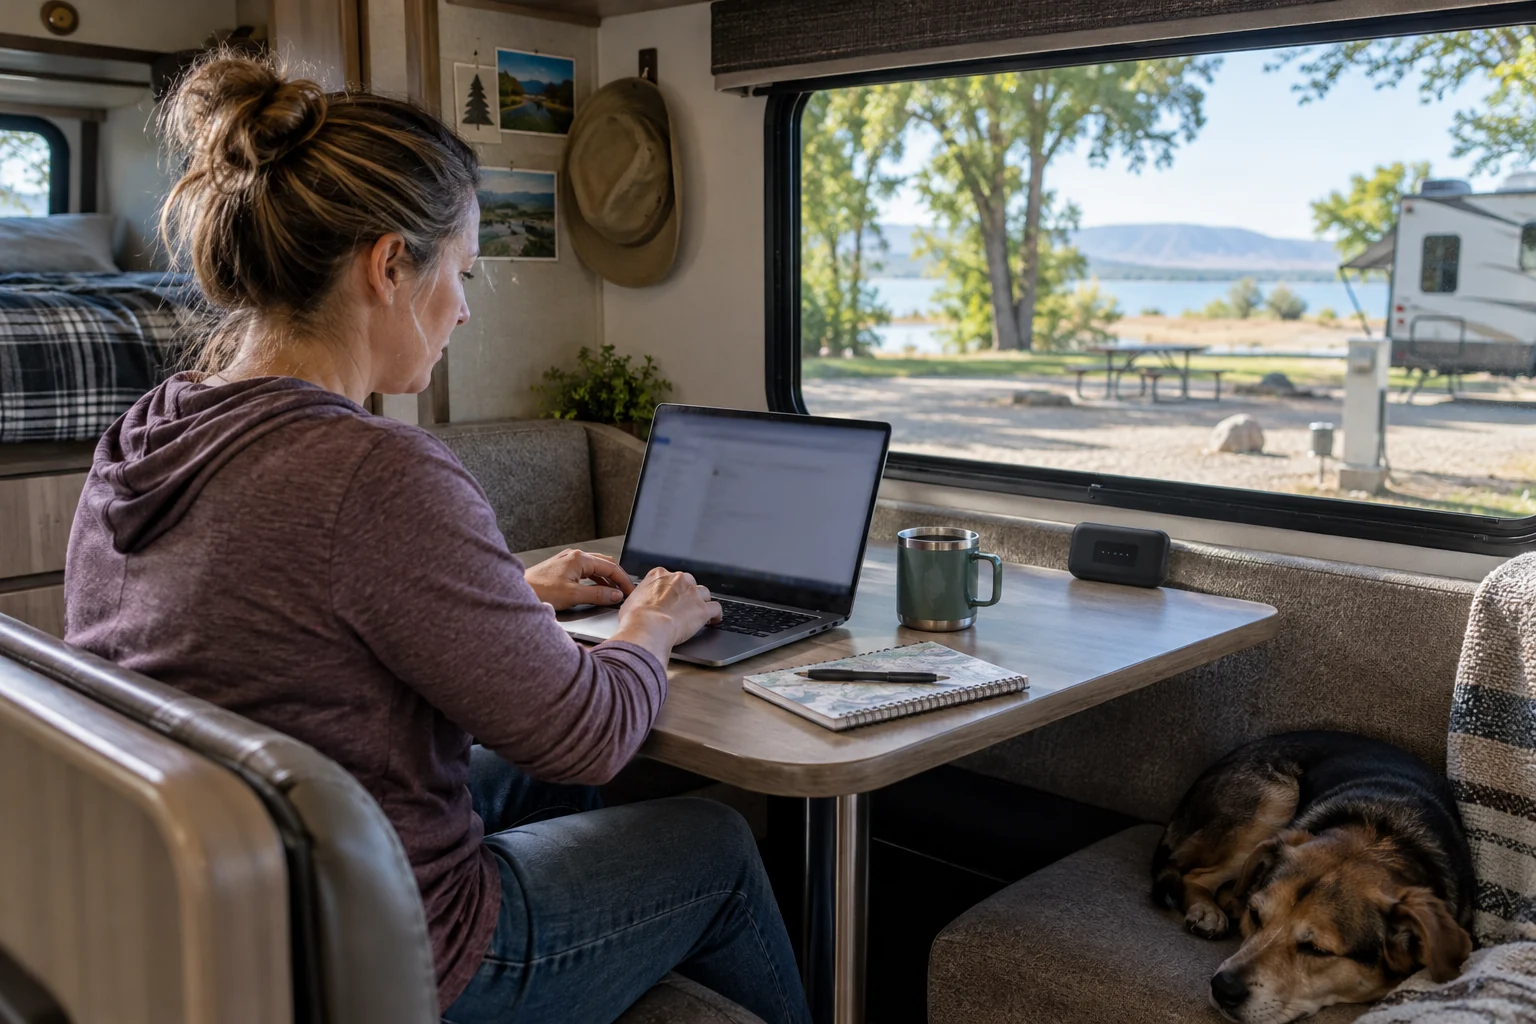
Cellular Internet: Plans, Hotspots, and Routers
Cellular is the default connection for RVers who stay near campgrounds, towns, and highway corridors. It works anywhere a tower reaches, and the hardware costs less than a satellite setup. But the plan structure and the router you choose determine whether cellular feels reliable or frustrating.
The three national carriers, Verizon, AT&T, and T-Mobile, all sell dedicated hotspot plans and phone plans that include hotspot data. Coverage differs by region and by campsite, so a carrier that works well in the Southwest may be weak in the Pacific Northwest. Check each carrier’s coverage map against your planned destinations before you commit. No single carrier covers every campground, which is one reason a second connection matters.
The word "unlimited" on a cellular plan does not mean unlimited fast data. Most unlimited plans include a data priority threshold: after you use a set number of gigabytes in a billing cycle, the carrier lowers your traffic priority, and your speeds drop when the tower is busy. Capped plans simply stop or throttle you at the limit. For RV work, the number that matters is the threshold, not the label. A hotspot plan that slows to unusable speeds after a modest data allowance will not carry a month of video calls, even if the marketing says unlimited. Check the plan’s hotspot data allowance and priority terms before you travel.
Hardware comes in three tiers. A phone’s built-in hotspot works for light email and browsing, but it drains the phone battery and shares the phone’s data allowance. It also often delivers weaker signal than a dedicated device. A dedicated mobile hotspot, such as the Netgear Nighthawk series, adds better antennas and longer battery life. A cellular router, such as those from Pepwave (Peplink), GL.iNet, or MoFi, goes further. It stays plugged in, provides Ethernet ports for a stable wired connection to a laptop, and supports external antennas.
Two router features matter most for RV work. Band locking lets you pin the router to specific cellular frequency bands, which helps when the default band is congested or when a different band reaches a distant tower more cleanly. Load balancing and failover let the router use multiple connections at once or switch automatically when one drops. A dual-SIM router holding SIMs from two different carriers, or a router that combines cellular with Starlink, gives you the redundancy a single connection cannot.
External antenna ports are worth paying for. They let you attach a roof-mounted antenna or a signal booster later, which can turn a weak one-bar signal into a usable connection. If you expect to work from remote campsites, choose a router with those ports from the start instead of replacing the hardware later.
Cellular is the right primary connection for most RVers, but treat it as one layer. Confirm your plan’s data threshold and verify coverage at each destination. Keep a second option ready for the campsites where the tower does not reach.
Carrier choice matters more than any hardware. Verizon, AT&T, and T-Mobile each cover different terrain. T-Mobile has the strongest rural coverage in the western United States but thinner coverage in parts of the Northeast and Southeast. Verizon historically leads in rural and mountain areas, though its towers get congested in popular camping regions. AT&T sits between the two, with dependable coverage across the South and Midwest. No single carrier covers everywhere, so many RVers carry SIMs from two carriers in a dual-SIM router.
Coverage maps overstate reality. A carrier’s map shows where a signal exists, but it says nothing about whether the tower is congested at 6 p.m. or whether the signal reaches your campsite through trees. Check the carrier’s map for each destination, then verify with a real test after you arrive. Apps like CellMapper and OpenSignal show actual tower locations and user-reported speeds, which are more honest than the marketing maps.
When you shop for a plan, buy from the carrier directly or from a reseller you trust, and read the hotspot data allowance in the fine print. Plans sold through third-party resellers sometimes carry different priority terms than the same plan sold by the carrier. If a plan’s data threshold does not match your monthly usage, the router features and antennas will not save you.
Boost Your Cellular Signal
How antennas connect to your router
A cellular router with external antenna ports lets you attach a dedicated antenna that sits outside the RV, where the signal is stronger. The antenna connects to the router through a cable that screws into ports on the back of the unit. The router’s built-in modem then uses that outside signal instead of the weaker one it would pick up from inside the metal shell of the RV. This upgrade needs no amplifier.
4G vs 5G antennas
4G antennas are tuned for the lower frequency bands that LTE networks use. 5G adds higher bands, and a 5G antenna receives both the older 4G bands and the newer 5G ones. If your router is 5G-capable, a 4G-only antenna will limit you to 4G speeds because it cannot pick up the higher 5G frequencies. Buy a 5G antenna when your router supports 5G, even if your current plan is 4G, so you do not have to replace it when you upgrade the plan.
When a signal booster is worth it
A signal booster, such as the weBoost Drive Reach RV, Destination RV, or Drive X RV, captures the cell signal with an outside antenna and amplifies it. The booster then rebroadcasts the signal inside the RV through a second antenna. A booster helps when you have a weak but usable signal, the kind that drops calls and stalls video, and you need it to be steadier. It does nothing when there is no signal at all; a booster amplifies whatever reaches the outside antenna, and if the tower is too far or blocked by terrain, there is nothing to amplify.
For a single device, a direct antenna connection to the router is usually better than a booster. The booster rebroadcasts the signal, which adds a step and can introduce interference. A booster is the better choice when you have multiple devices that need the signal, or when your phone and laptop have no external antenna ports of their own.
Installing an Antenna and Booster
Mount the outside antenna as high as you can, on the roof or a mast, because height clears nearby obstructions and the RV’s metal walls. Keep the cable run as short as possible; every foot of cable loses signal, and long runs can erase the gain you paid for. Place the inside antenna away from the router and its own antennas to prevent feedback, the booster equivalent of a microphone squeal. Check that the booster covers the bands your carrier uses; a booster that misses your carrier’s band will not help that connection. Test the setup before you leave, and carry a backup connection anyway, because no antenna or booster fixes a campsite with no tower in range.
Most cellular routers and hotspots accept external antennas through screw-on connectors, either SMA or TS-9. SMA is standard on most routers and boosters; TS-9 appears on many consumer hotspots. Check the connector on your router before buying an antenna, and buy an adapter if the two do not match. A connector mismatch is the most common reason a new antenna does not improve the signal.
Routers with two antenna ports support MIMO, which receives two data streams from the tower at once. With a single antenna, throughput drops by half even when the signal is strong. Buy a paired antenna kit with two elements when your router has two ports, and connect both.
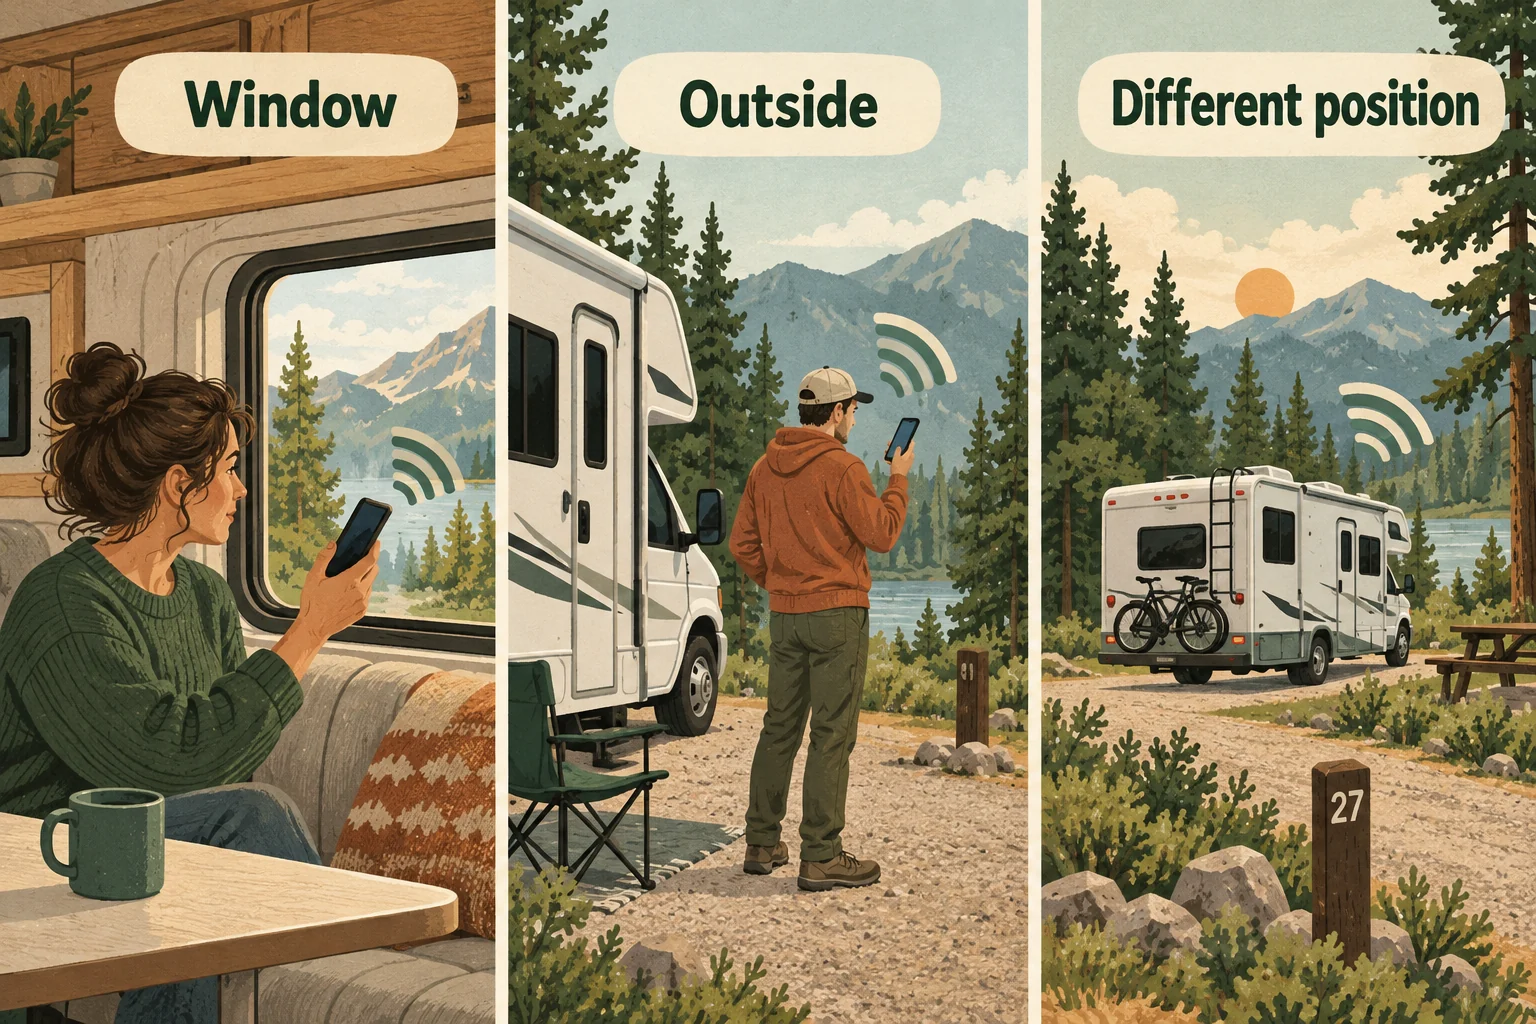
Where you place the antenna determines how much it helps. The goal is to get the antenna above the roofline and away from the RV’s metal shell, which blocks cellular signals. A roof mount on a short mast works best. If you cannot mount on the roof, put the antenna in a window facing the tower and as high as possible. Glass lets the signal through, while metal walls and cabinets block it.
Satellite and Wi-Fi Alternatives
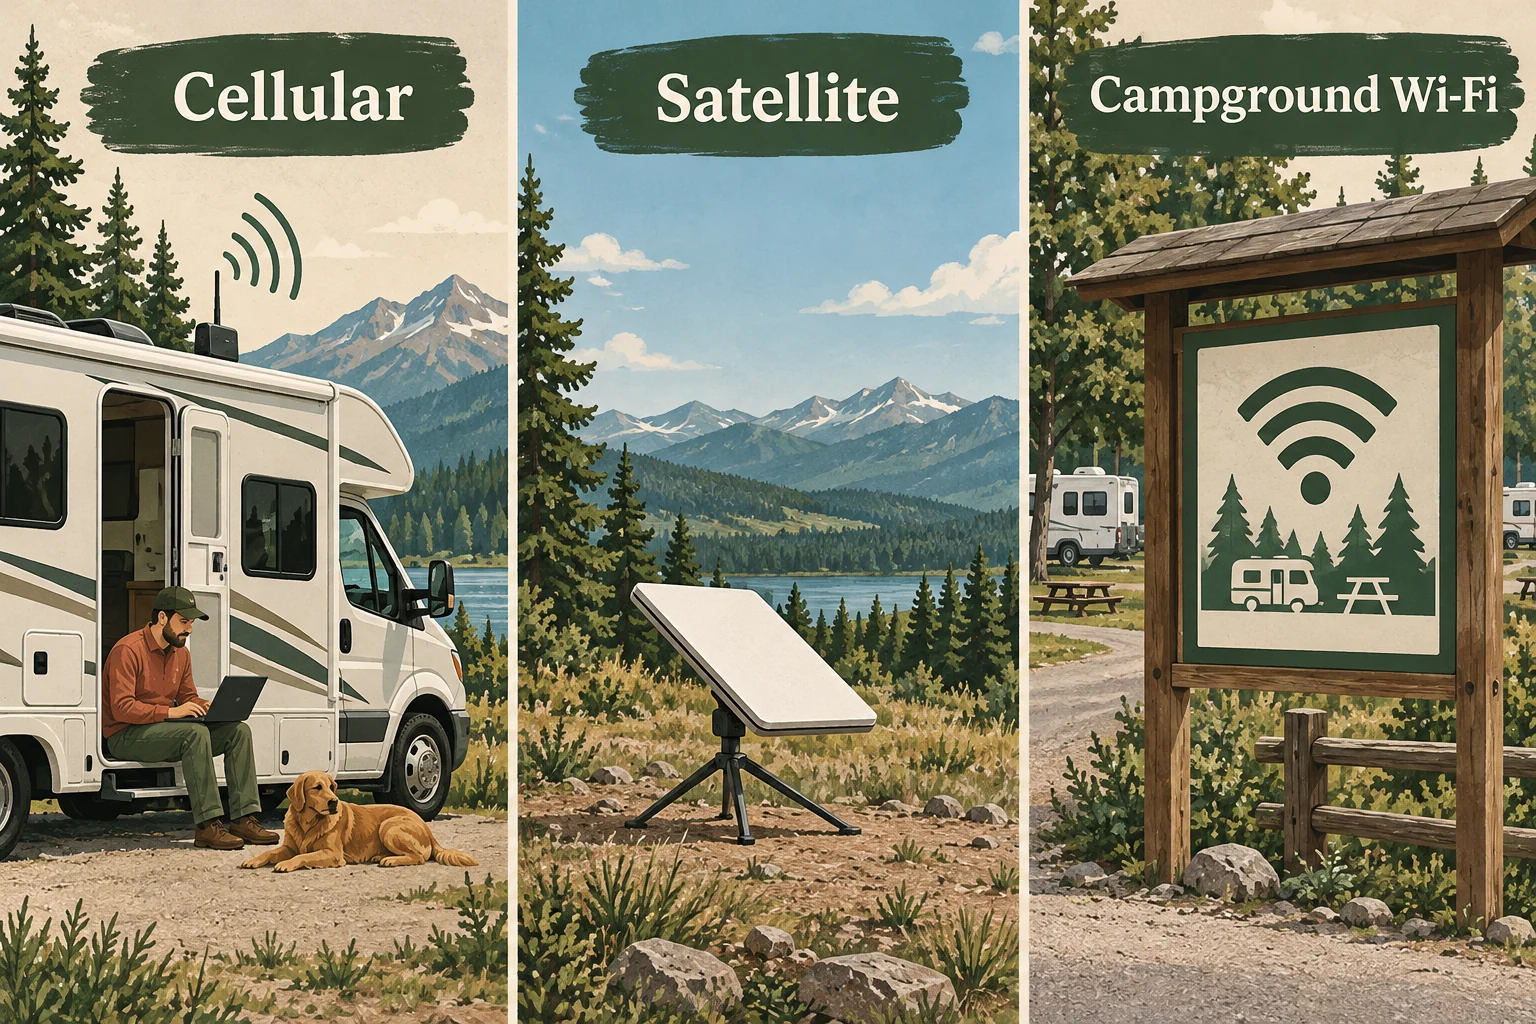
Starlink is the strongest option when cellular drops out, but it only works where the dish can see the sky. Trees, canyon walls, and heavy cloud cover block the satellite signal, so a campsite surrounded by pines defeats it. Cellular needs a nearby tower; without one, there is no connection. That tradeoff is why many RVers run both and switch between them.
Starlink versus cellular
Starlink Roam plans cost $55 per month for 100GB of data or $175 per month for unlimited data as of September 2026, plus the upfront kit purchase. The Gen 3 dish draws steady power, so confirm your battery and solar budget can feed it through a full workday. Setup is quick: place the dish with a clear view of the sky, run the cable, and let the app guide the alignment. Speeds are consistent enough for video calls and large uploads in most open areas.
Cellular hotspots cost less per month and work anywhere a tower reaches, which covers campgrounds, towns, and highway corridors. The catch is data priority: many "unlimited" plans slow your connection after a set amount of high-priority data, and capped plans stop or throttle outright. A hotspot that streams fine on Tuesday can crawl by Friday if you burned through the fast-data allowance.
The practical split: use a 5G hotspot for campgrounds and towns, and carry Starlink for remote public land with open sky and no usable cell signal. Before a trip, run the Starlink app’s obstruction check at each planned campsite and verify your carrier’s coverage map for that exact location. Maps overstate reality, so treat a map as a starting point, not a guarantee.
Campground Wi-Fi as a backup
Campground Wi-Fi is usually the weakest link in an RV internet setup. Many parks route everyone through one connection, so evenings bring congestion and video calls stutter. Treat park Wi-Fi as a fallback for email and browsing, not for client meetings or large uploads.
When you do use it, protect yourself. Park networks are shared, so anything you send can be seen by other users. Use a VPN to encrypt your traffic, and avoid logging into bank accounts or work systems without one. If the park charges extra for "premium" Wi-Fi, test the free tier first; paid tiers often deliver the same congested connection.
Load-balancing routers
A load-balancing router combines your connections and switches between them automatically. You plug in your cellular hotspot, Starlink, and campground Wi-Fi, then set rules for which source handles which traffic. If Starlink drops because a cloud moved in, the router shifts to cellular so you do not have to restart a video call. Some models also combine two connections to double throughput, though that works best when both sources are stable.
If you want carrier redundancy in one box, look for a router with dual SIM slots, and confirm it supports the external antenna ports from the signal section. A load-balancing router adds setup time and cost, but it removes the most common failure mode: a dropped connection in the middle of a workday with no one around to fix it.

Set Up, Secure, and Troubleshoot Your RV Internet
A reliable RV internet setup starts before you park. Confirm your plan terms, check the carrier coverage map for the area, run the Starlink app obstruction check if you use Starlink, and calculate your daily power budget so the router and modem do not drain your batteries. Then set up the hardware in the right order.
Setup checklist
- Mount any external antenna above the roofline, away from metal surfaces, with the shortest cable run you can manage.
- Place the router in a ventilated spot, not inside a closed cabinet or near the refrigerator exhaust.
- Connect the router to power, then to the cellular modem or Starlink dish, and confirm the status lights show an active connection.
- Connect your laptop and phone to the router’s Wi-Fi network and run a speed test from the spot where you actually work.
- Test the connection at the time of day you will use it, since evening congestion changes speeds.
Security best practices
Change the router’s default admin password before connecting any devices. Default credentials are published online, and an unsecured router lets anyone on the same network change your settings or intercept traffic. Enable WPA2 or WPA3 encryption on the Wi-Fi network, and set a strong passphrase instead of the one printed on the router label.
Treat campground Wi-Fi with extra caution. It is a shared network where other campers can see traffic that is not encrypted. Use a VPN on that connection so your work traffic stays private, and treat it as a fallback rather than a primary connection. On your own router, disable WPS (Wi-Fi Protected Setup), which lets devices join by pushing a button and is a known entry point for attackers. Keep the router firmware updated, since manufacturers patch security flaws through those updates.
Troubleshooting common problems
| Problem | Likely cause | What to do |
|---|---|---|
| No signal on cellular | No tower within range, or antenna blocked by terrain | Check the carrier coverage map for your exact location. Move the RV or raise the antenna. A booster only helps when a weak signal exists; it cannot create one. |
| Starlink drops or fails | Trees, canyon walls, or other obstructions block the sky view | Use the Starlink app obstruction check before parking. Relocate the dish to a spot with a clear view of the sky. |
| Slow speeds at certain hours | Network congestion or data priority cap reached | Check your plan’s high-priority data allowance. If you are throttled, switch to the backup connection or schedule large uploads for off-peak hours. |
| Interference or weak signal inside | Antenna too low, long cable run, or router near metal | Recheck antenna placement above the roofline. Shorten the cable or move the router away from metal walls and appliances. |
| Router or modem overheats | Poor ventilation or direct sun | Move the unit to a shaded, ventilated spot. Do not stack it on other electronics. If it shuts down repeatedly, it may need a replacement. |
When one connection fails, the fix is usually switching to the backup rather than repairing the primary. That is why a second source, such as a phone hotspot alongside a cellular router or Starlink, matters more than any single piece of hardware. Test both connections at each new campsite before you need them for a call or deadline.
New campsite setup checklist
Go through this list when you arrive, before opening your laptop for work. Park first, then check the sky and the signal.
- Check the carrier coverage map and the Starlink obstruction view for your exact coordinates.
- Place the cellular antenna above the roofline, away from metal, with the shortest cable run you can manage.
- Point the Starlink dish at open sky; the app shows you where obstructions are before you commit to a spot.
- Power up the router and confirm it connects to your primary source, then to the backup.
- Run a speed test on each connection and note the results, since a call that drops mid-meeting is harder to fix than a slow download you catch early.
- Join your own Wi-Fi network and confirm the router firmware is current.
- Test the VPN on the connection you will actually use for work.
Security settings worth changing once
Set a strong router admin password and a separate Wi-Fi password; the default credentials on many routers are printed on the label and are public knowledge. Turn off remote management unless you need it, since that feature lets anyone on the internet reach the router’s settings page. If the router offers a guest network, put your work devices on the main network and leave the guest network for visitors. On campground Wi-Fi, use a VPN: that network carries other campers’ traffic, and you have no control over how the campground operator secures it.
When to stop troubleshooting and move on
A connection that fails at one campsite may work perfectly at the next. Terrain, tree cover, and tower distance change with every stop. If a component overheats repeatedly or the router shuts down on its own, replace it rather than nursing it along; intermittent hardware failures are the hardest to diagnose and the most likely to strike during a deadline. Keep a phone hotspot as the last-resort backup even when you carry Starlink, because a dead battery or a broken cable on your primary setup is a problem no coverage map can solve.